
Home Studio Recording Setup Guide: Environment Part 2
- Dec 15, 2025
- 7 min read
Updated: Jan 17
Welcome back!
This guide continues from Part 1: Environment of my Home Recording Setup Guide for Beginner Voice Actors in Malaysia, where I covered practical tips and products on soundproofing, acoustic treatment, and choosing the right room or corner for your home studio. If you haven’t read it yet, I recommend starting here to give yourself a general understanding.
In this post, I’ll share real-life examples by taking you through the 3 stages of my own home studio setup, my recommendation for a beginner’s setup, along with additional examples from Su Ling and Azman Zulkiply, and other students to show how different voice talents approach their recording environments.
3 Stages of Home Studio Setup
Based on my experience, we generally go through 3 stages:
Stage 1: The Makeshift Phase
You use whatever you already have (like clothes, blankets, or wardrobes) to create a recording corner. It’s often uncomfortable, stuffy, and far from ideal — but it works enough to get started.
Stage 2: The Midway Upgrade
You start taking voice acting more seriously and decide to improve your space. You buy more or higher-quality acoustic products, and carve out a dedicated recording area.
Stage 3: The Boss Level
At this stage, you know voice-over is a long-term path, so you invest in a proper, comfortable setup.
Stage 1: The Makeshift Phase (May 2020)
When I first started out, my booth was squeezed into my little bedroom.


As shared in the previous post, I had a traditional glass-slat window. So I bought this extendable no-drill curtain rod from Shopee and secured it against both walls, then switched out the thin blanket with a black Producer's Choice Double-Layered Acoustic Blanket (the kind meant for doors) in front of the window. There was still a gap, but it was better than before.
Next, I used an even longer extendable rod from my bedroom wall to my closet door, and turned my open closet into the back of my recording space. I draped an 80’’ x 80’’ Single Layer Acoustic Blanket over two and a half sides and placed a huge piece of acoustic foam on top to form a “ceiling”, and lastly, my other white Double-Layered Blanket on the remaining side.


Cost Breakdown (Total approx. RM1,535)
Weatherstripping - less than RM10
No-Drill Curtain Rod - RM186.92
Black: 0.7m - 1.1m
Black: 2.1m - 2.6m
Shipping: RM33.80
Acoustic Blankets (Producer’s Choice) - USD278.39 ≈ RM1,147 today
Door Noise Control Cover x2 (38’’ x 90’’)
VB71-G Acoustic Blanket Black (80’’ x 80’’) with Grommets
Shipping: USD126.37
This was a preorder — I placed the order on 18 June, and it was scheduled to ship via FedEx on 15 July. I’m not sure when they arrived, but the earliest photo I have is the first photo in this blog series, taken on 2 October 2020
Note: These are affiliate links, which means you'll receive 5% off through them. (let me know if you don't)
Acoustic Foams (Begins Acoustic) - RM191
Large (100cm x 100cm): RM125
Smalle (50cm x 50cm): RM60
Shipping: RM6
Discount! Get 10% off on all Acoustic Panels, Bass Traps, Diffusers, Adhesive Spray, Wood Panels, and FiberAkustics with my code SAMYEOW
As time passed, I realized I couldn’t relax in my own bedroom because it was also my workspace. Every time I wanted to record (which is almost daily), I had to dismantle and reassemble the setup. My room was small, and I needed to access my clothes, so keeping the booth up 24/7 wasn’t an option.
On top of that, when the neighbours behind started renovation, that lasted months. I couldn’t start recording until after dinnertime (to avoide cutlery clinking sounds), and sometimes my parents had to sacrifice their TV time for me (thank you, my loving parents 🥹). I’d work late into the night, sleep even later, and still wake up as early as 6am because the construction workers were playing the radio. They drilled on Saturdays and Sundays too, even though they weren’t supposed to. It really did a number on me. Needless to say, I needed a better space.
Stage 2: The Midway Upgrade (May 2021)

A year later, the piano was moved out of the downstairs guest room. There was still a bed there, so we used this space:


My dad manufactures office furniture (like workstations and office systems), so he built me a little custom cubicle.


Initially, I hung the acoustic blankets inside as an extra layer of treatment, with the big acoustic foam up top as the ceiling. I later replaced the inner booth with Begins Acoustic acoustic foams (‘mush’ style) with adhesive spray because I found those more effective at absorbing sound.
I draped the black acoustic blanket on top, and the white one as the ‘door’. The cubicle was sturdy enough to hold the heavy blankets.
Stage 3: The Boss Level (Oct 2022)

At some point, I realized voice acting is my career now and decided that I needed an even bigger space, spacious enough to stretch my arms, move my body freely, and stand fully without the blanket booping my head.
So, in the same room, we removed the bed and dismantled the old cubicle, and use a good chunk of the room to assemble the larger cubicle.
Once again, my dad custom-made the cubicle. This time, he extended the height to just below the ceiling fan, and even experimented by inserting acoustic panels into the structure. To further reduce echo, I bought 2 base traps and more acoustic foams, which I glued to the walls using adhesive spray. My dad also created a few movable panels on top that could be shifted to allow light to pass through. I bought a height-adjustable table on wheels, and here’s the final look:

At one point, the shared window to the kitchen — the traditional glass-panel type — was still an issue. We explored solutions like installing double-glazed or soundproof windows, even went to showrooms and got quotations from JTL Window and German Window. With prices starting at several thousand ringgit, I couldn’t justify it, so in the end, my dad came up with a simpler solution: a wooden block hung on nails to cover the windows.

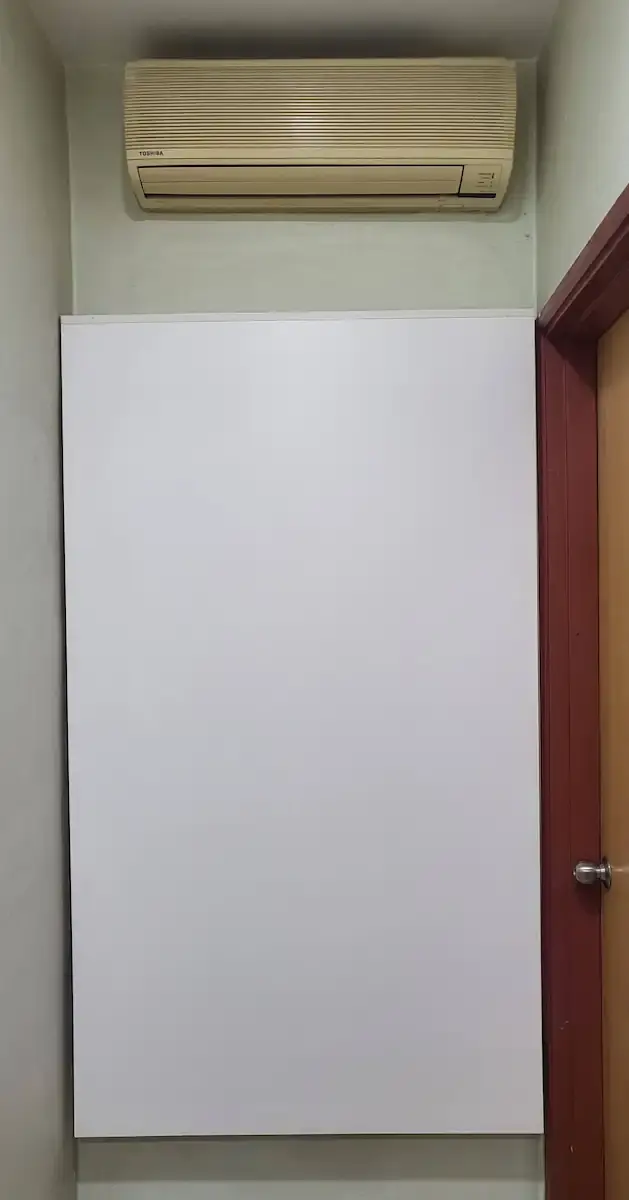
I'll be replacing the old Toshiba aircon with a new one (going for Panasonic since most of y'all voted that in my Instagram poll).
Ever since then, I’ve been tweaking a little here and there, changing the orientation as I go. This photo, taken just a few days ago for this blog, is the latest look of my setup:

Cost Breakdown for Stage 2 & 3 (Total approx. RM655)
Acoustic Foams (Begins Acoustic) - RM191
Small ‘Mush’ Acoustic Foams: RM70 x 5
Adhesize Spray: RM65
Small Base Traps (20cm x 20cm x 50cm): RM120 x 2Discount:
Discount! Get 10% off on all Acoustic Panels, Bass Traps, Diffusers, Adhesive Spray, Wood Panels, and FiberAkustics with my code SAMYEOW
Cubicle - Father’s Love
While my booth was custom-built to fit my space, the good news is you don’t need a custom solution to get similar results. You can still apply a version of the same approach, which brings me to the final section of this part of the blog: my recommendation for you.
My Recommendation
Find the quietest and most isolated room you can in your house.
Section off a space or a corner, and isolate it with a movable structure.
Ideally, the space should:
Fit a table for your laptop & microphone
Fit a chair
Be tall enough for you to stand fully upright
How to Section Off Your Recording Space
Option 1 — PVC Pipes: Build a makeshift PVR pipe frame
Option 2 — Clothing Rack: Use 2 or 3 racks
Option 3 — Partition (my upgrades): Use 2 or 3 office-style partitions
The first 2 options are budget-friendly, but they give you a hollow structure. The PVC is not as movable, and Clothing Rack is probably not tall enough for you to stand upright. The Partition option offers a solid, tall structure, but is pricier.
Which Should You Choose?
You can start with PVC or Clothing Rack as an affordable entry point and upgrade to Partition later. Of course, if your budget allows, you can go straight to using partitions. They’re sturdier, last longer, and save you from needing multiple upgrades.

With Partition, my dad’s company manufactures both standard and custom ones. Mine doesn’t have wheels, but if you prefer something mobile and detached, this is a great option. If your setup is in a corner, a foldable 2-panel like this is perfect — it folds slim and can be tucked away when you’re not recording

One thing I personally enjoy is being able to choose the colours 😄 I picked PRO 304 for the top and 305 for the bottom. (Not sure if choosing two colours costs extra though 😛)
Treating Your Recording Space
You still need to acoustically treat your sectioned-off area.
PVC or Clothing Rack: Drape and/or hang thick or acoustic
Partition: Attach acoustic foams onto the partitions with double-sided tape, adhesive spray, or velcro it if you don’t want it to be permanent
If any side of your setup is an actual wall, stick acoustic foam onto it. If your space sits at the corner of two walls, add bass traps.
Ideally, you’d ‘foam it up’ — but if you’re on a budget, focus your foam treatment around the height of your microphone. Just keep in mind whether you record standing or sitting more often.
For the top, depending on how sturdy your structure is, you can cover it with a thick or acoustic blanket, an acoustic panel, or a large acoustic foam piece. For the bottom, a carpet.
Ready to See More Real-Life Examples?
If you’d like to see how PVC and clothing rack setups look in practice — or how other voice talents treat an entire room — head over to the next post. I’ll be sharing home studio setups from experienced talents like Su Ling and Azman Zulkiply, as well as a few of my students who are just getting started!


Comments